


We’ve all seen it – that persistent dampness on decks that don’t get much sun. It’s a breeding ground for mold and mildew, turning what should be a nice outdoor space into something less appealing. Dealing with this can be a real headache. In this article, we’ll look at why shaded decks are so prone to these issues and discuss some practical deck waterproofing solutions that can help keep your deck looking good and free from unwanted growth.
Key Takeaways
- Shaded decks stay wet longer, creating conditions where mold and mildew like to grow on wood and other materials.
- Watch for dark spots, fuzzy patches, or a musty smell as early signs of mold or mildew.
- Using the right waterproofing membranes and installing them correctly are important deck waterproofing solutions for shaded areas.
Understanding Mold and Mildew on Shaded Decks
We’ve all seen it, right? That fuzzy green or black stuff that starts creeping onto our decks, especially in spots that don’t get much sun. It’s not just unsightly; it can actually damage the wood over time. For shaded decks, this is a bigger problem than you might think.
The Impact of Persistent Shade on Deck Materials
When a deck is constantly in the shade, it stays damp for longer periods. Think about it – the sun helps dry things out. Without that direct heat, moisture lingers on the wood’s surface and can even soak in. This damp environment is like a buffet for mold and mildew. Over time, this persistent moisture can break down the wood fibers, making them weaker and more prone to rot. It’s not just about looks; it’s about the structural integrity of your deck. We’ve noticed that certain types of wood seem to hold onto moisture more than others, which can speed up the process.
Identifying Early Signs of Mold and Mildew Growth
Catching mold and mildew early is key to preventing serious damage. We usually look for a few tell-tale signs. The most obvious is the color: you might see small patches of black, green, gray, or even white fuzzy or slimy growth. Sometimes, it just looks like a discoloration on the wood surface. Another indicator is a musty or earthy smell, especially after a rain or on humid days. If you notice any of these, it’s time to take a closer look.
Here are some common places to check:
- Underneath deck boards, especially near the ground.
- Around deck posts and railings where water might collect.
- In corners or areas where leaves and debris tend to accumulate.
- On the surface of the wood itself, particularly in shaded, damp spots.
The longer these organisms are allowed to grow unchecked, the harder they are to remove and the more damage they can cause. We’ve found that regular inspection, even just a quick walk-around once a month, can make a huge difference in spotting problems before they get out of hand. It’s really about being proactive rather than reactive when it comes to deck maintenance in shaded areas.
Implementing Effective Deck Waterproofing Solutions
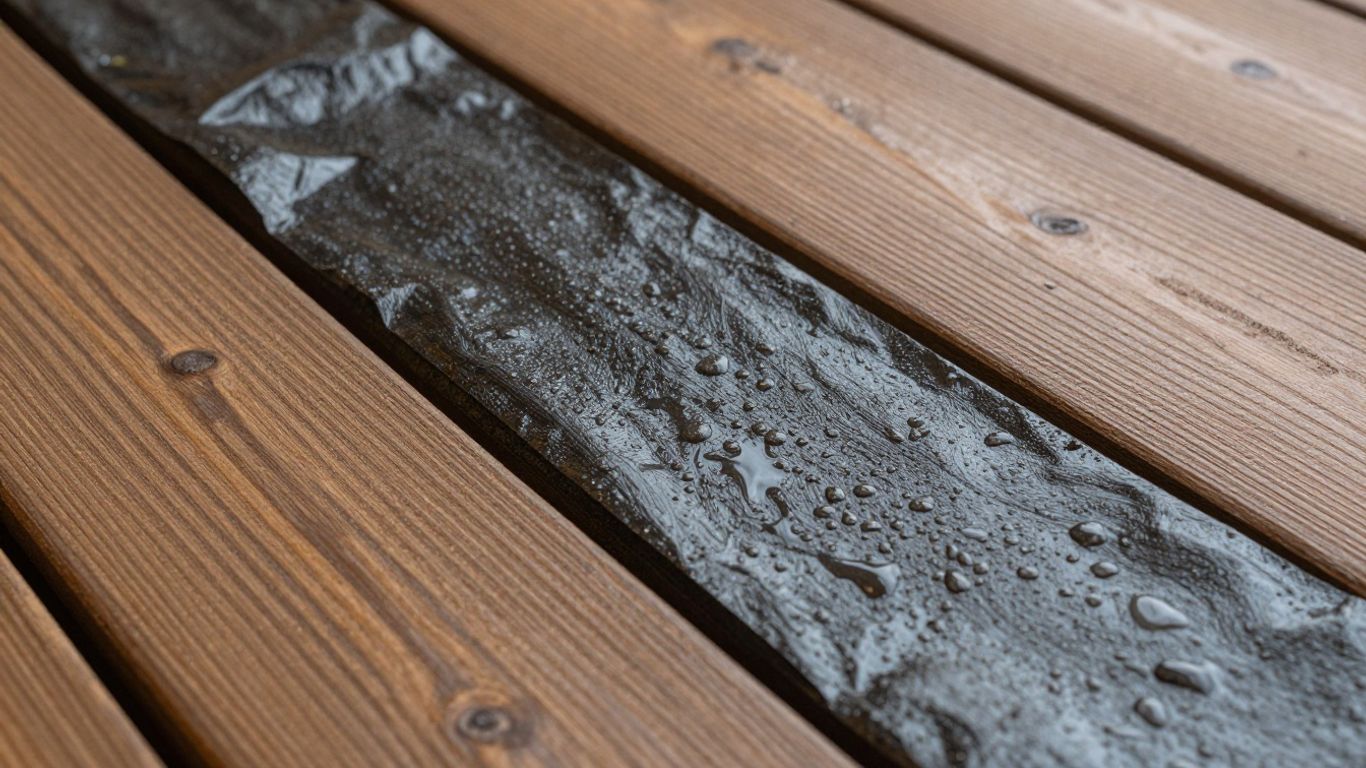
When our decks are stuck in the shade, we often run into mold and mildew problems. It’s not just about looks; it can weaken the wood over time. That’s why we need to get serious about waterproofing. Choosing the right membrane is the first big step in keeping your shaded deck healthy and looking good.
Choosing the Right Waterproofing Membrane for Shaded Areas
Not all membranes are made the same, and what works for a sunny spot might not be the best for a shady one. We need something that can handle constant dampness without breaking down. Here are a few types we often look at:
- Liquid-Applied Membranes: These are like a thick paint that dries into a solid, waterproof layer. They’re great because they can seal up all the little cracks and crevices, which is a big plus for older decks. We usually apply them with rollers or brushes.
- Sheet Membranes: These come in large rolls, kind of like roofing felt but usually made of rubber or plastic. We lay them down and seal the seams. They offer a really consistent thickness, which is good for predictable protection.
- Self-Adhering Membranes: These have a sticky back, making installation a bit simpler. We just peel off the backing and stick them down. They’re a good option if we want to save some time on the job.
When picking, we always think about the climate we’re in and the type of wood we’re working with. Some membranes are better for extreme temperatures, while others might react poorly with certain wood treatments.
Proper Installation Techniques for Long-Term Protection
Even the best membrane won’t do much good if it’s not put on right. We’ve learned that taking our time here really pays off. Here’s what we focus on:
- Surface Preparation: This is non-negotiable. The deck surface needs to be clean, dry, and free of any loose debris, old paint, or anything that could get in the way. We often use a stiff brush or even a pressure washer (on a low setting!) to get it ready.
- Following Manufacturer Instructions: Every product has its own way of doing things. We read the directions carefully – seriously, every word. This includes things like how long to let it cure, what temperature it needs to be applied in, and how many coats are needed.
- Sealing Edges and Seams: This is where water likes to sneak in. We make sure to overlap sheet membranes correctly and use the recommended sealants for all edges and any penetrations (like where posts go through).
We’ve found that a little extra attention to detail during installation, especially around the edges and any tricky spots, makes a huge difference in how long the waterproofing lasts. It’s the difference between a fix that lasts a few years and one that protects the deck for a decade or more.
Here’s a quick look at what we consider when choosing:
| Membrane Type | Best For | Potential Downsides |
|---|---|---|
| Liquid-Applied | Complex shapes, good adhesion | Drying time, requires careful application |
| Sheet Membrane | Large, flat areas, consistent thickness | Seam integrity is critical |
| Self-Adhering | Ease of installation, quick application | Can be more expensive, adhesion issues |
Wrapping Up Our Deck Protection
So, we’ve talked about how mold and mildew can really take over a shaded deck. It’s a common problem, especially when the sun doesn’t get much of a chance to dry things out. But as we’ve seen, putting down the right kind of membrane before you install your deck boards makes a big difference. It’s not a complicated fix, but it does take a bit of planning. By taking these steps, we can help keep our outdoor spaces looking good and free from that damp, musty smell for years to come. It’s about being smart with our building choices to avoid headaches later on.
Frequently Asked Questions
Why does mold and mildew seem to love our shady deck so much?
In shady spots, decks don’t get as much sunlight, which means they stay damp for longer periods. This constant moisture creates the perfect breeding ground for mold and mildew. Think of it like a bathroom that doesn’t get much air – it tends to get grimy easily. Our decks in shaded areas face similar conditions, making them prone to these unwanted growths.
What’s the best way to keep our deck dry and protected, especially in those dark corners?
To keep our decks dry and protected, especially in shaded areas, we should use a special waterproof layer called a membrane. This layer acts like a shield, stopping water from soaking into the wood or the materials underneath. Choosing the right type of membrane that’s made for decks and installing it correctly is key. It’s like putting on a good raincoat before heading out in the rain – it keeps the elements out.
How often should we check our deck for signs of mold or mildew, and what should we look for?
We should make it a habit to inspect our deck regularly, perhaps once a month or after a long spell of wet weather. Keep an eye out for any dark spots, fuzzy patches, or a musty smell. These are the early warnings that mold or mildew might be starting to grow. Catching it early makes it much easier to deal with before it becomes a bigger problem.
